How to Make Faceless YouTube Videos Without a Camera (Step-by-Step Guide)
You don't need a camera, a studio, or video editing software to start a YouTube channel. Thousands of creators are growing their channels without ever showing their face — and AI makes it easier than ever.
What is a faceless YouTube video?
A faceless YouTube video is a video where you never appear on camera. Instead of filming yourself, the video shows a series of images, illustrations, or graphics while a voiceover narrates the content. The viewer hears your story — or an AI-generated voice telling it — while visuals keep them engaged.
This format is extremely popular in niches like history, science, horror stories, finance, motivation, and explainer content. The biggest advantage: you can build a real audience and earn ad revenue without revealing who you are.
Why most people never start — and why that's about to change
Most people who want to start a YouTube channel get stuck at one of these problems:
- ✗ They don't want to be on camera.
- ✗ They can't afford a camera, microphone, or studio.
- ✗ They don't know how to edit video.
- ✗ They don't know how to write scripts.
- ✗ They don't know where to find good visuals.
With AI tools, every single one of these problems is now solvable. You can go from a topic idea to a finished, ready-to-upload video without doing any of those things yourself.
The complete step-by-step workflow
Describe a topic and let the planner write it
The first thing you need is a story. You don't write it yourself: type a topic and one AI pass produces the whole plan — the spoken script, the shot list that carries it, and the title, description and hashtags to publish with.
You pick the look and the narration language; the planner handles the research, the structure and the writing. There is no length setting — it decides how many shots the topic actually needs.
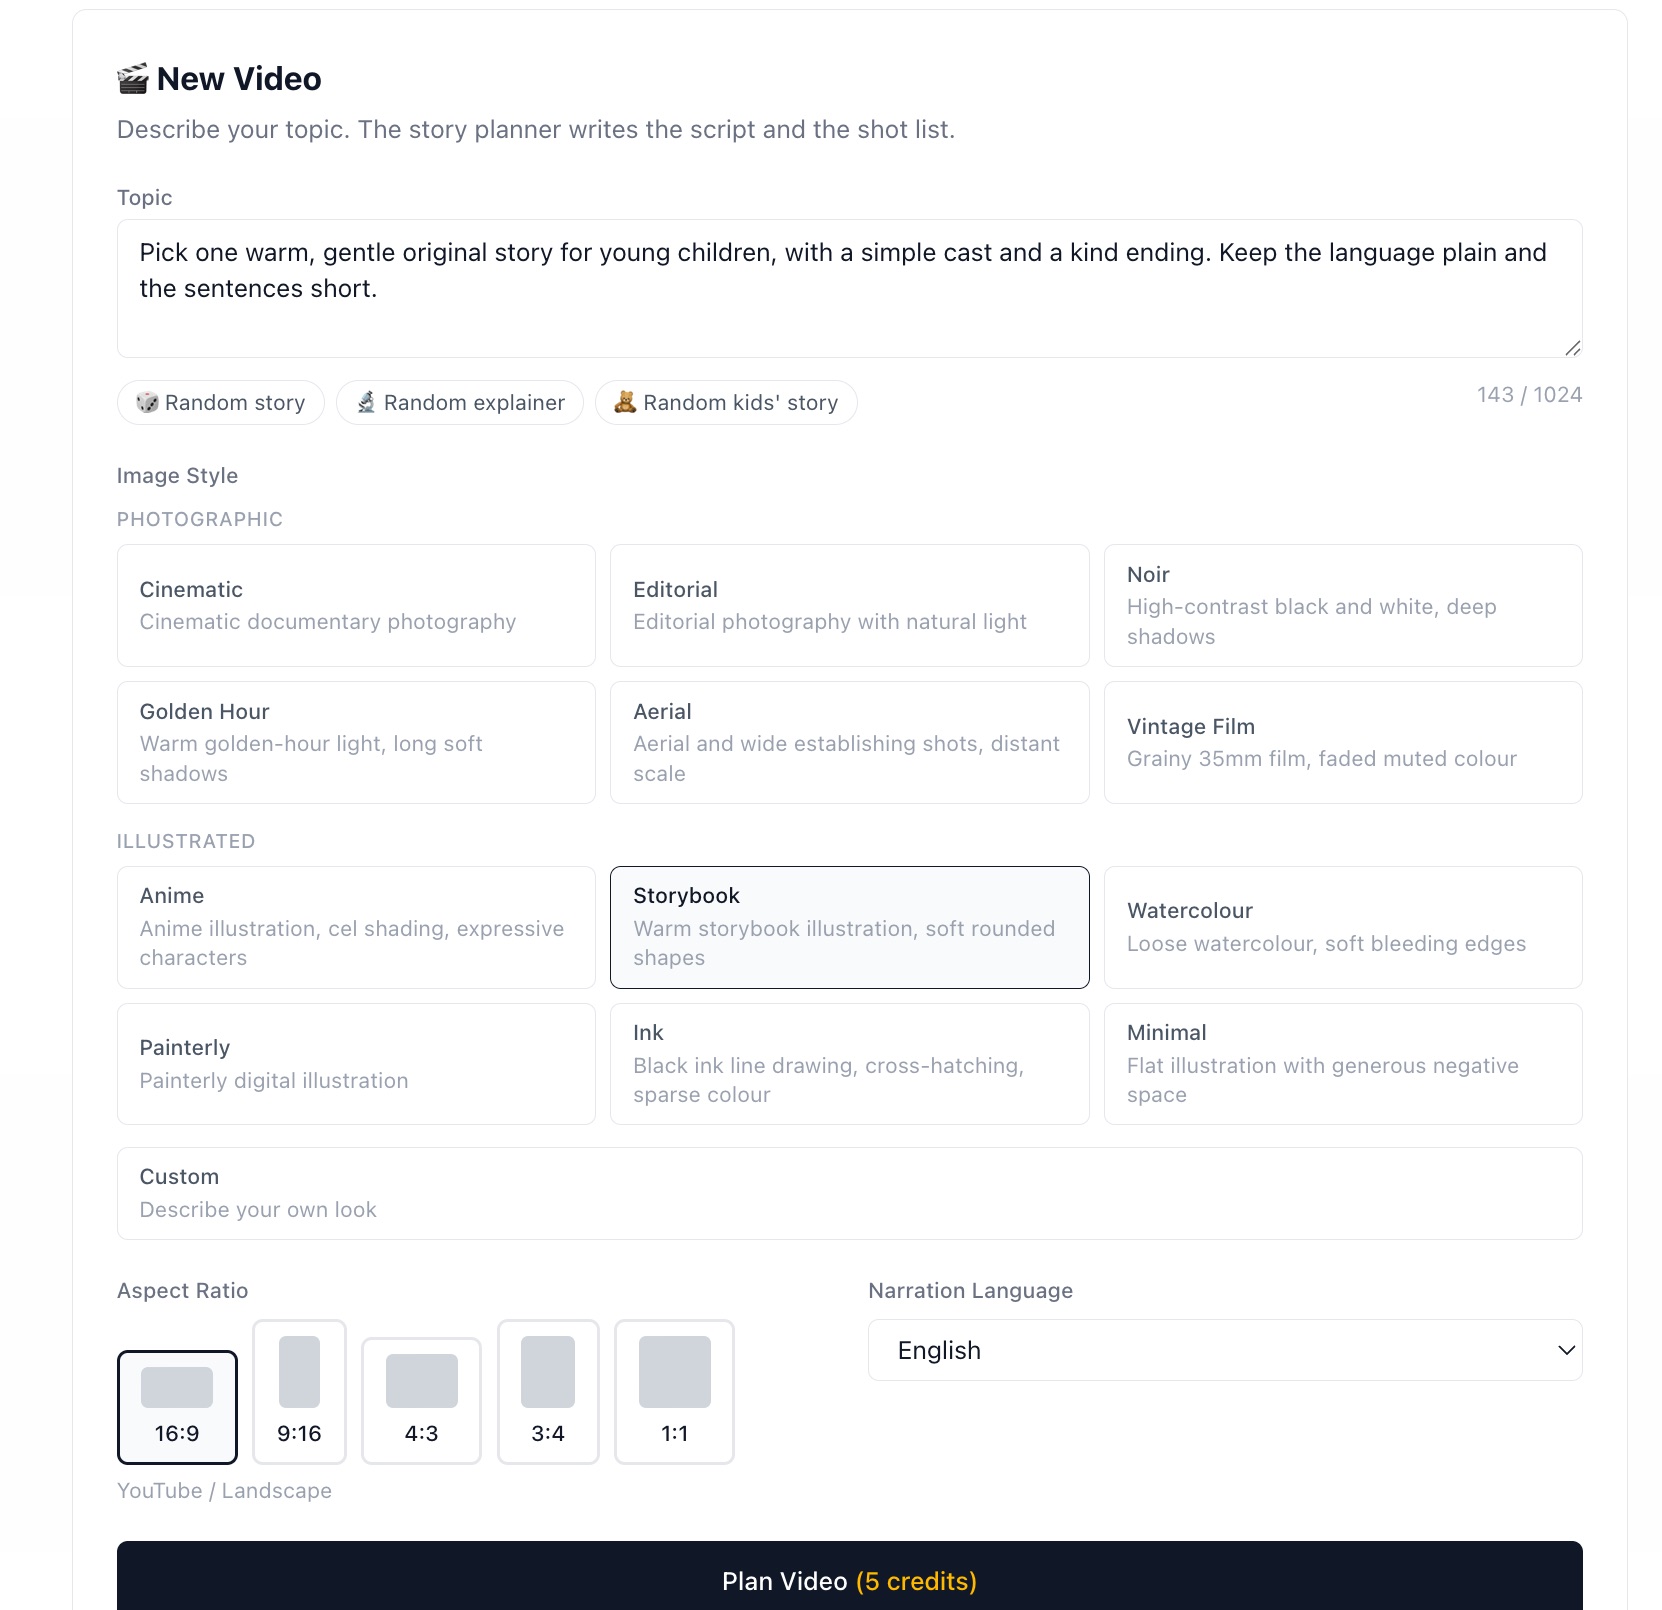
Type a topic, pick a look and a ratio — that is the whole setup.
Record the narration
Pick a voice from a list of dozens — male, female, different accents and languages — and each shot is recorded as its own take. The timings come back with the takes, so the subtitles are already in sync.
No microphone. No recording. No background noise to edit out. Editing one line later only re-records that one shot.
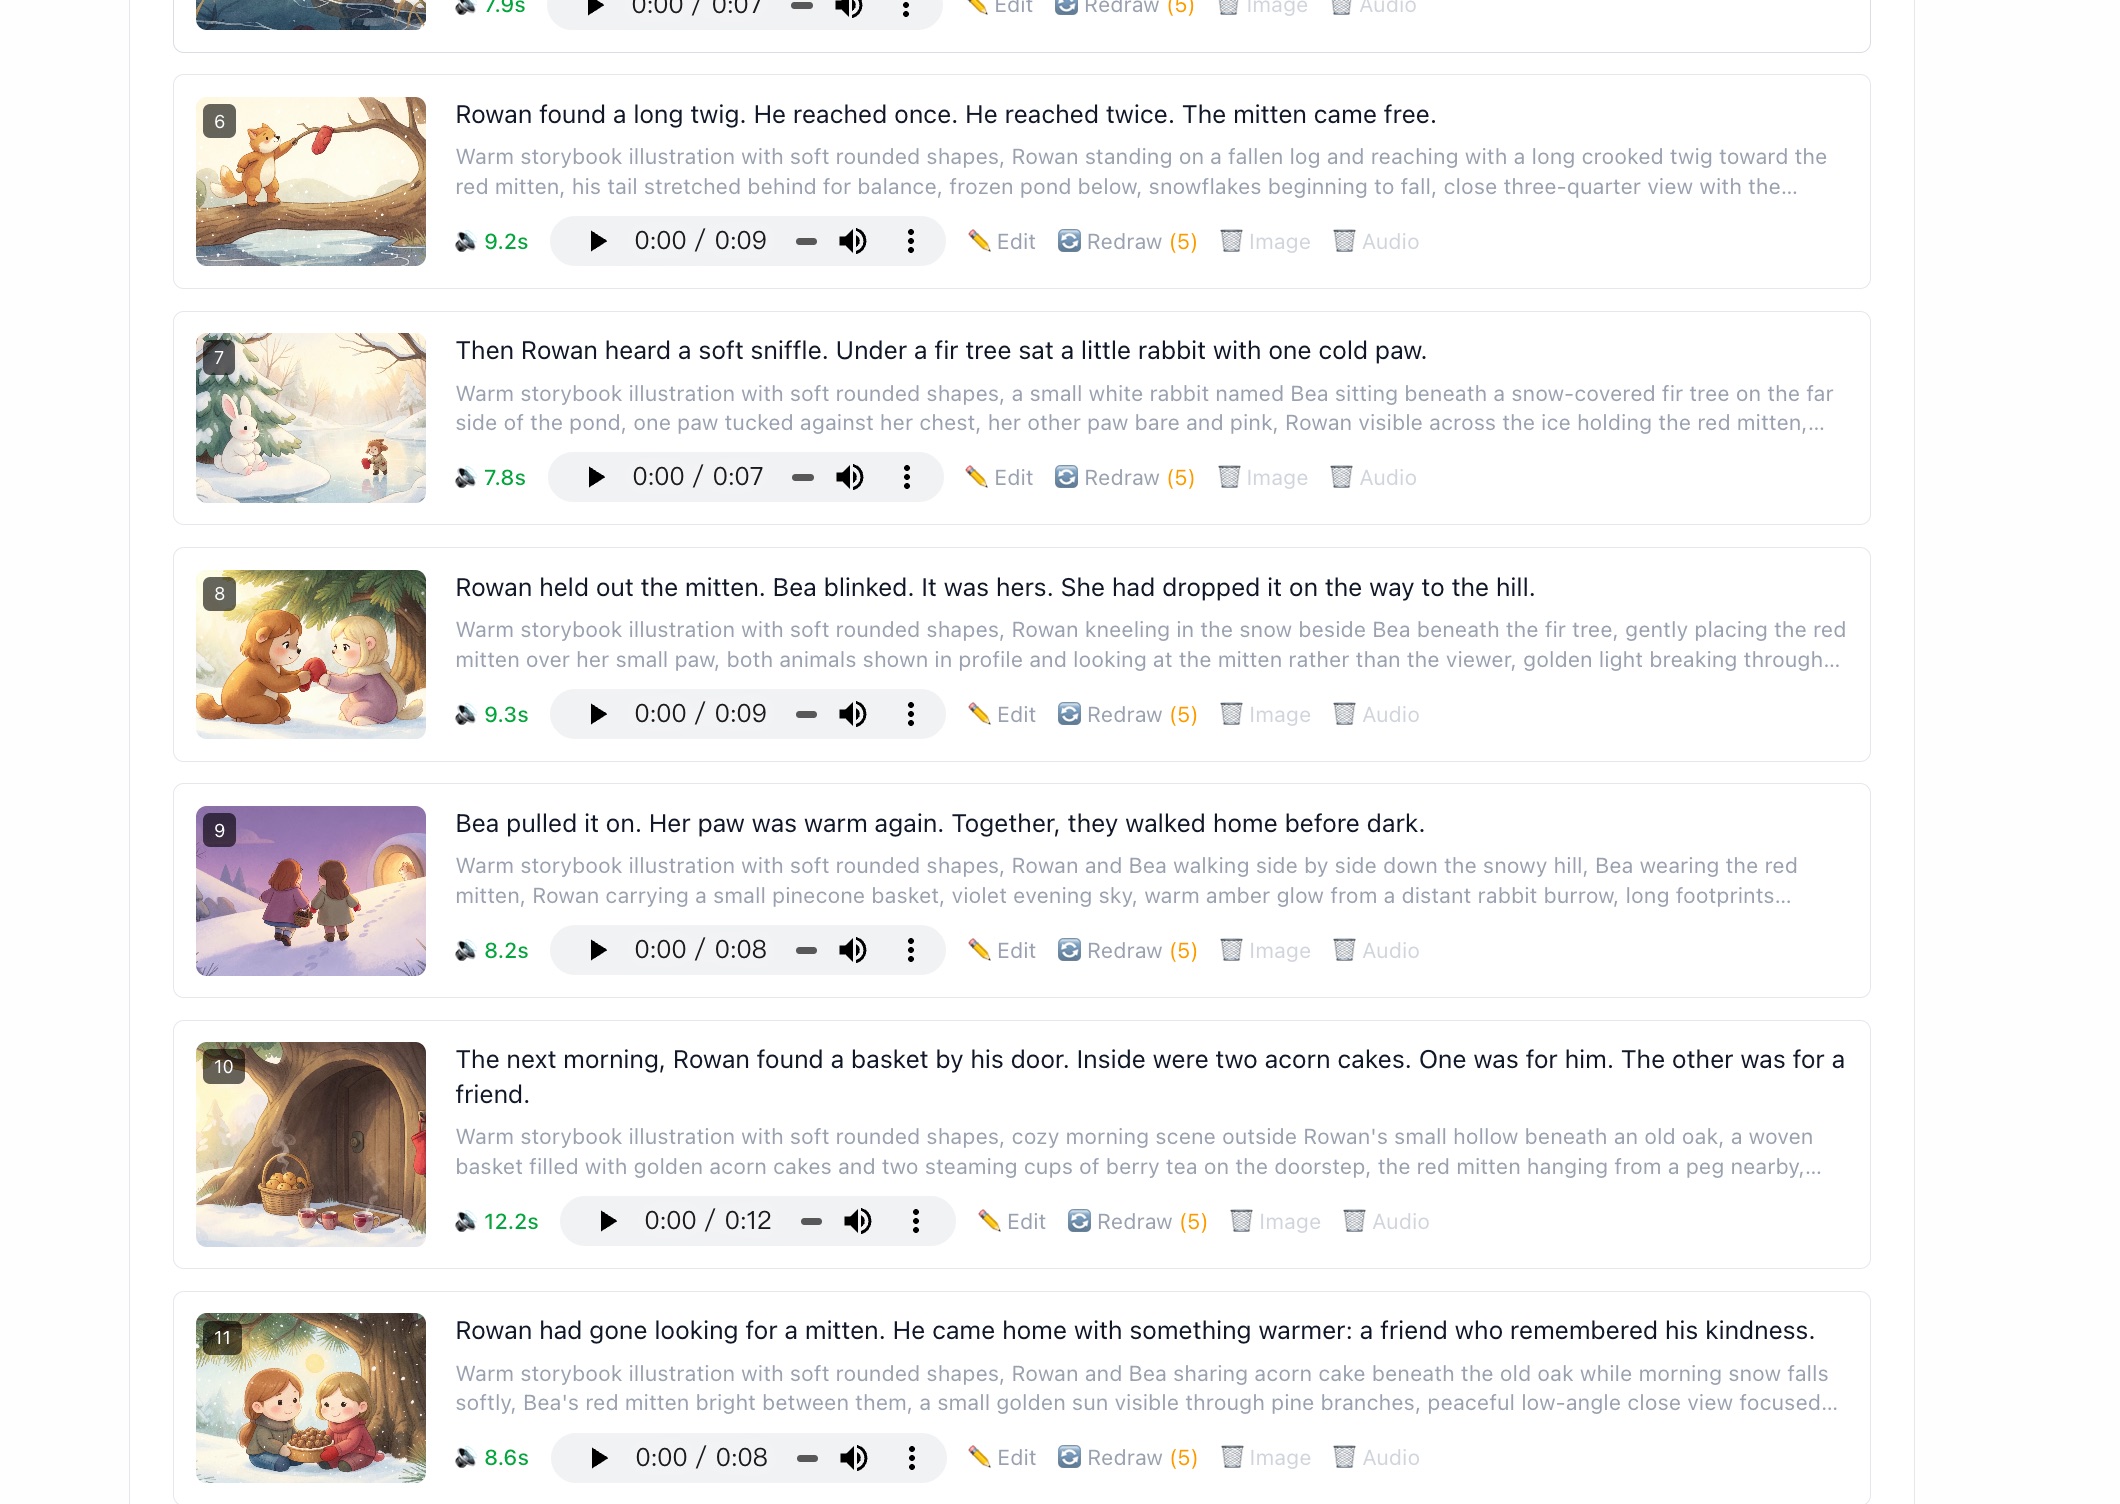
One take per shot, each with its own player and measured duration.
Generate the shot images
The shot list already describes every image, so there is nothing to split up. Click generate and the queue works through the shots in order, drawing each one in the style you picked at the start.
One seed is shared by the whole project, so a character stays recognisable from shot to shot. Any single shot can be redrawn on its own, or you can edit its prompt first for a different result.
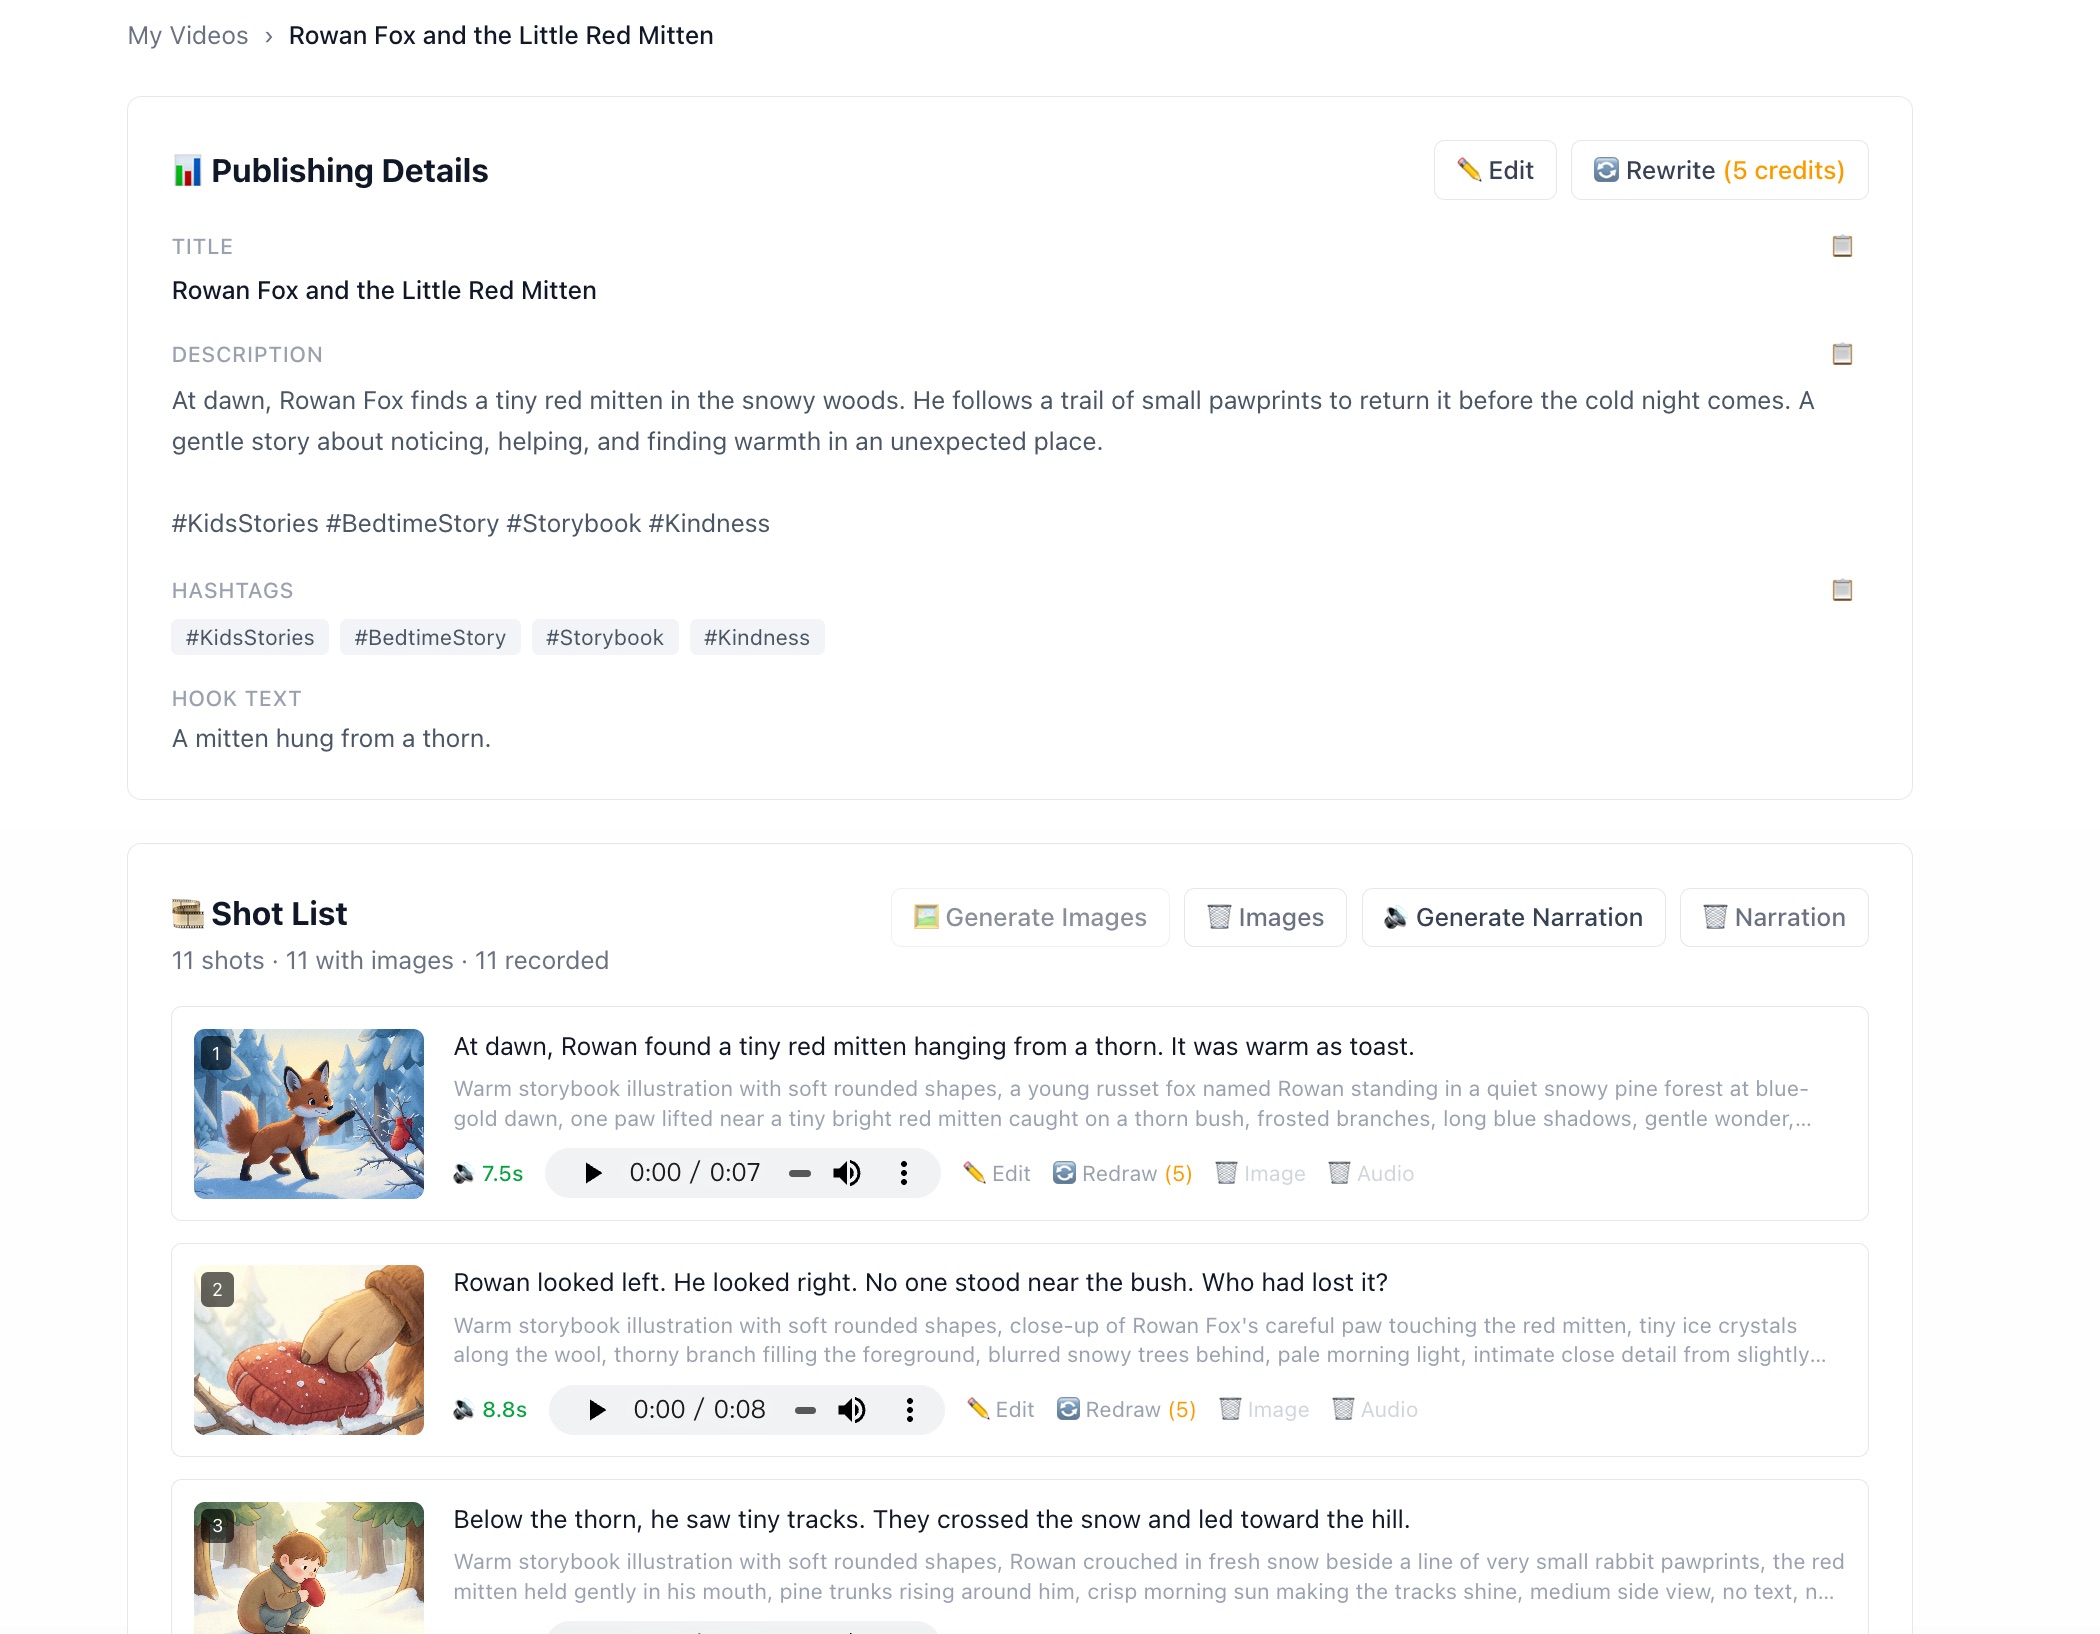
One image per shot, in a single consistent style. Redraw any that miss.
Export your finished MP4
With the takes and images ready, exporting is one click. The video is assembled right in your browser — each shot holds the screen for exactly as long as its own take, subtitles are drawn on top, and you get a downloadable MP4 ready to upload.
You can customise the subtitle style — font, size, colour, plate and a word-by-word highlight — and play the whole thing in the preview before committing to an encode.
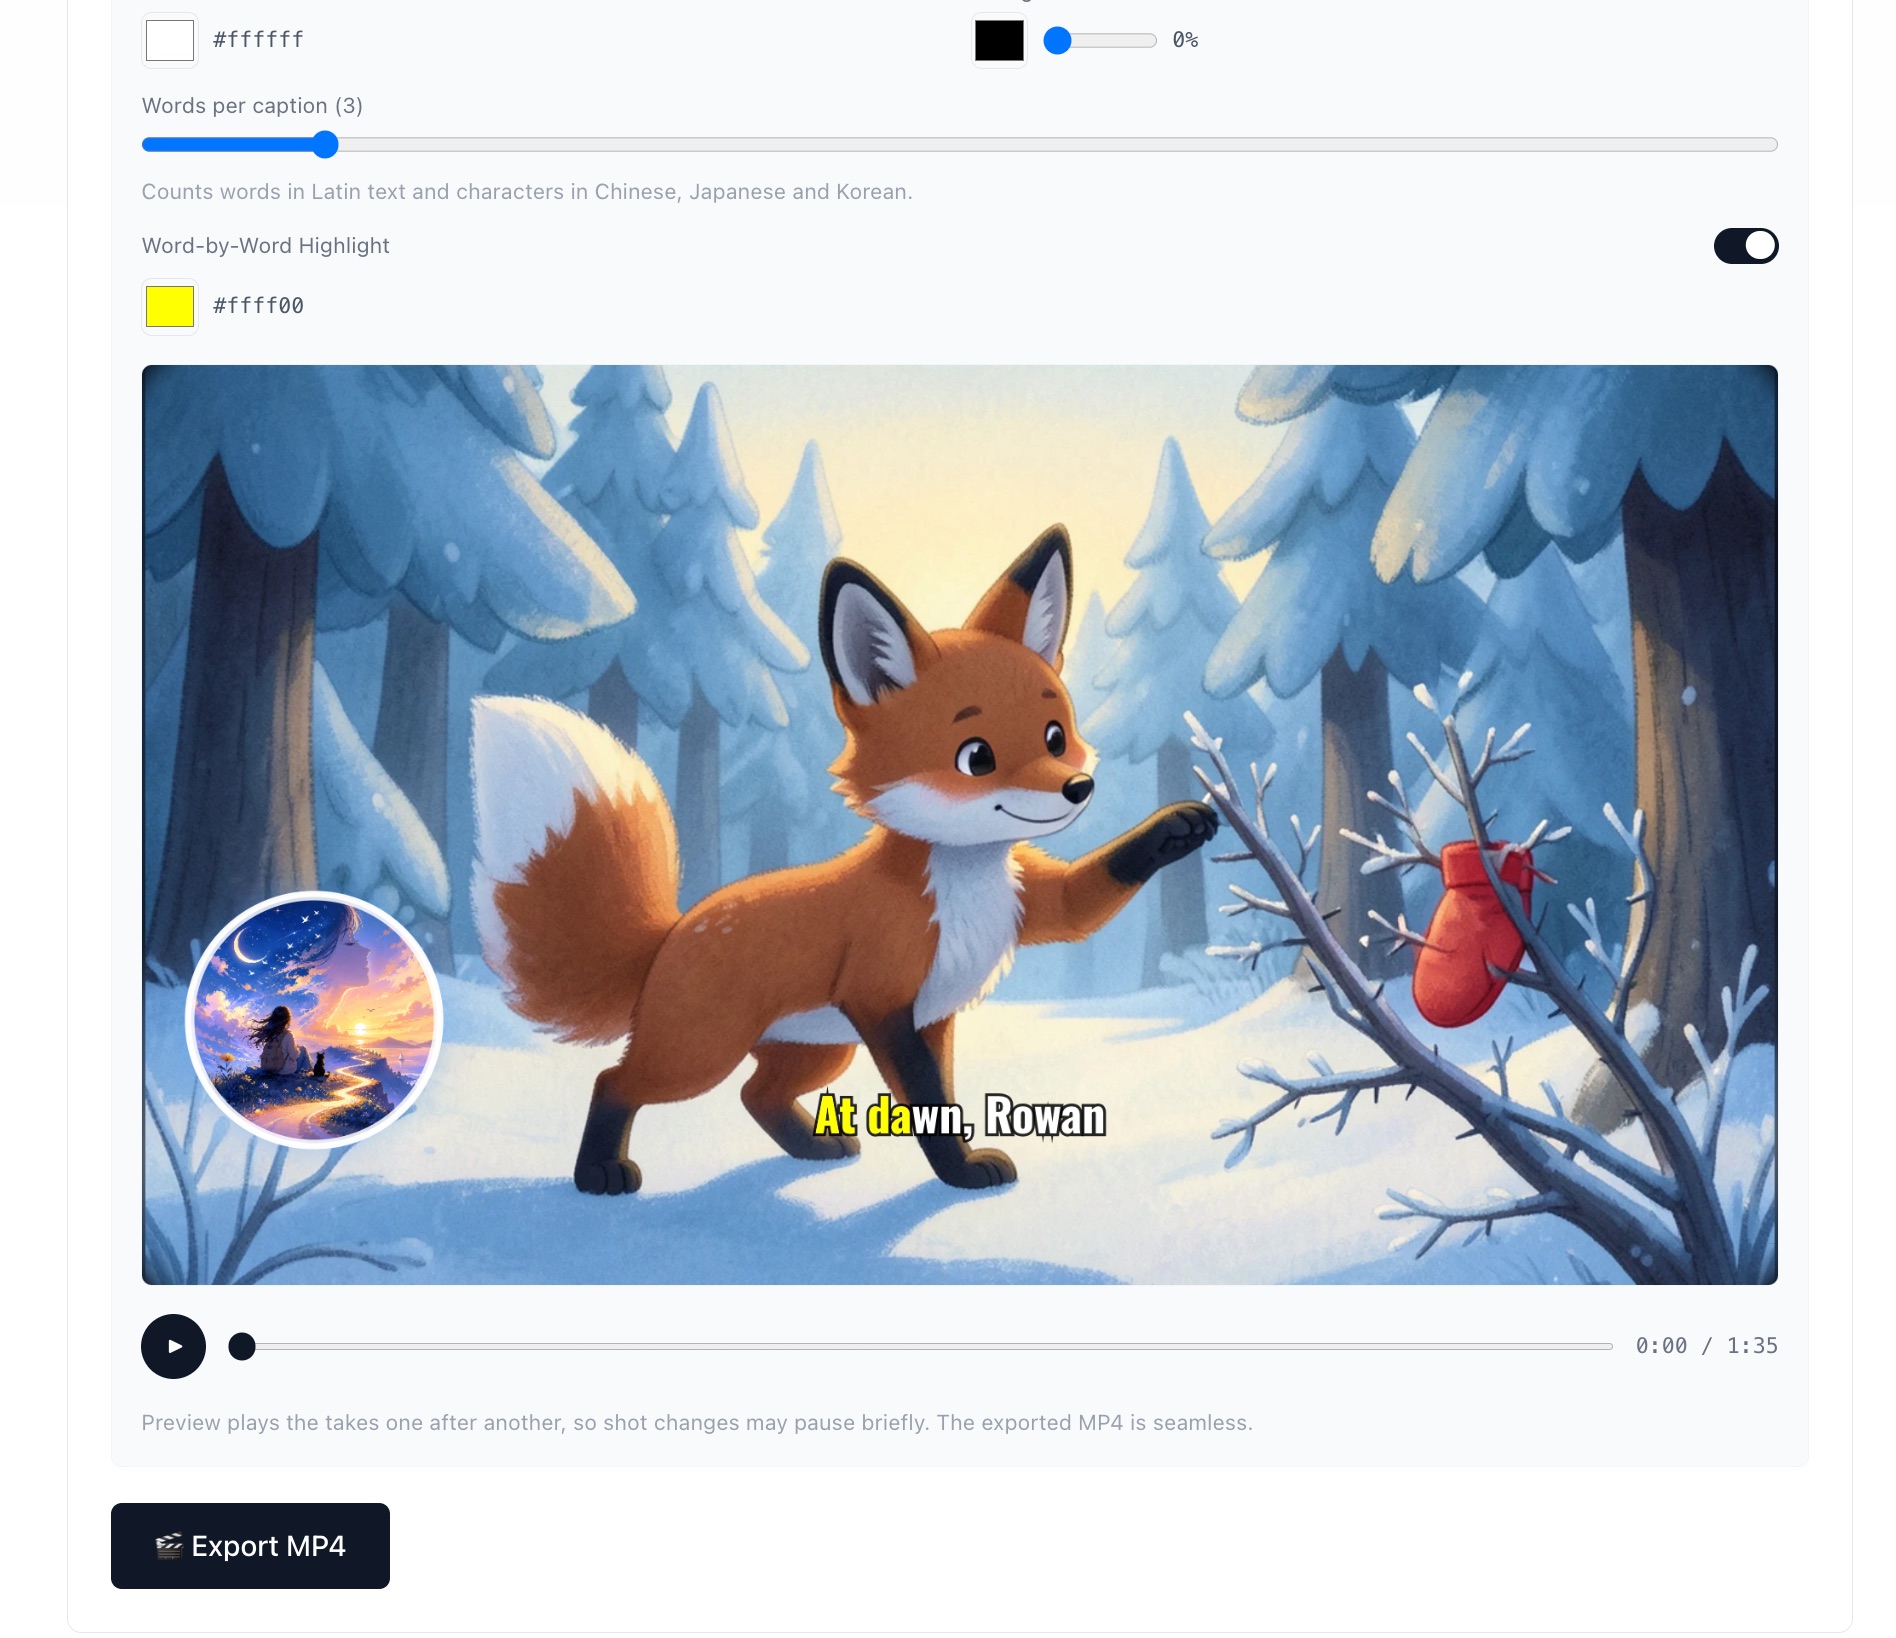
Everything is assembled in your browser. Download a finished MP4 ready for YouTube.
Tips for your first faceless video
Pick a niche with a real audience
History, horror stories, finance facts, and science explainers all have huge existing audiences on YouTube.
Start with 3–5 minute videos
Short enough to produce quickly, long enough to run mid-roll ads once you monetize.
Keep image style consistent
Pick one visual style (e.g. anime or cinematic) and use it for all images in a video to look professional.
Write a strong hook in the first 30 seconds
The AI generates a hook text automatically — use it. YouTube's algorithm rewards watch time, and the hook keeps people watching.
How long does it actually take?
| Step | Time |
|---|---|
| Generate a 3-minute script | ~30 seconds |
| Generate voiceover + subtitles | ~1 minute |
| Split script into image segments | ~10 seconds |
| Generate 7 AI images | ~3–4 minutes |
| Export MP4 in browser | ~2 minutes |
| Total | ~8–10 minutes |
Your first video will take a bit longer as you explore settings. By your second or third video, you'll have a rhythm and can finish in under 15 minutes.
Ready to make your first faceless video?
Sign up free and get 50 credits — enough to produce your first complete video.
Start for Free